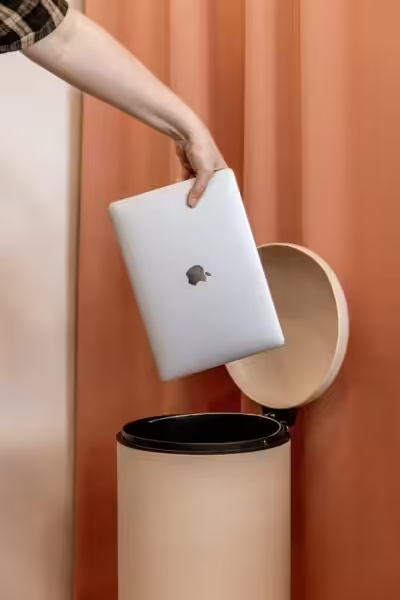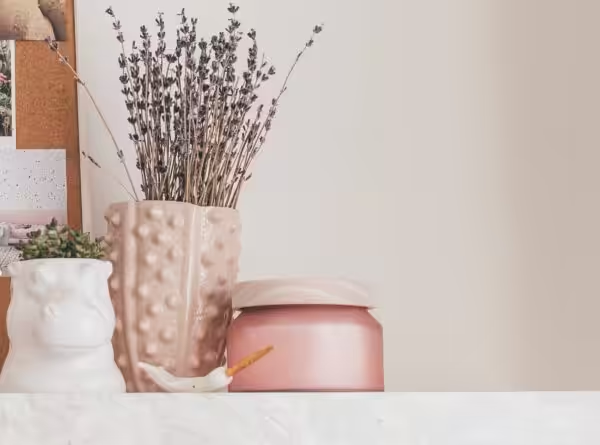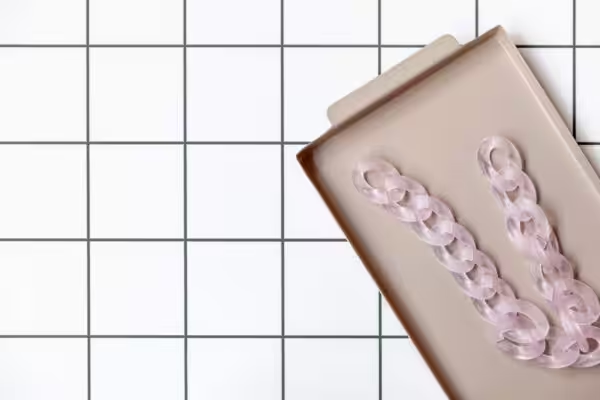
As chief photographer at de Lotz, product photography is my jam, but I also take photos of brands on location, like the lovely photos you can see here on the Studio Cotton website and over on Instagram – Studio Cotton founder Aime has trusted me with this important job since 2018.
Something Aime always mentions is how important professional-looking photography is – it’s very hard for her to make a website look good if the photos aren’t serving.
And dontcha think customers are more likely to buy your products if the photos are bright, clear, and inviting, rather than blurry, dimly-lit, and boring?
As a small business owner myself, I know all too well that a small business’ budget can’t always stretch to professional product photography, and sometimes you have to DIY it.
So if you’re doing your product photography in-house, these 14 products under £30 can help your photos look more professional.
1. White foam board to bounce light into your product photos
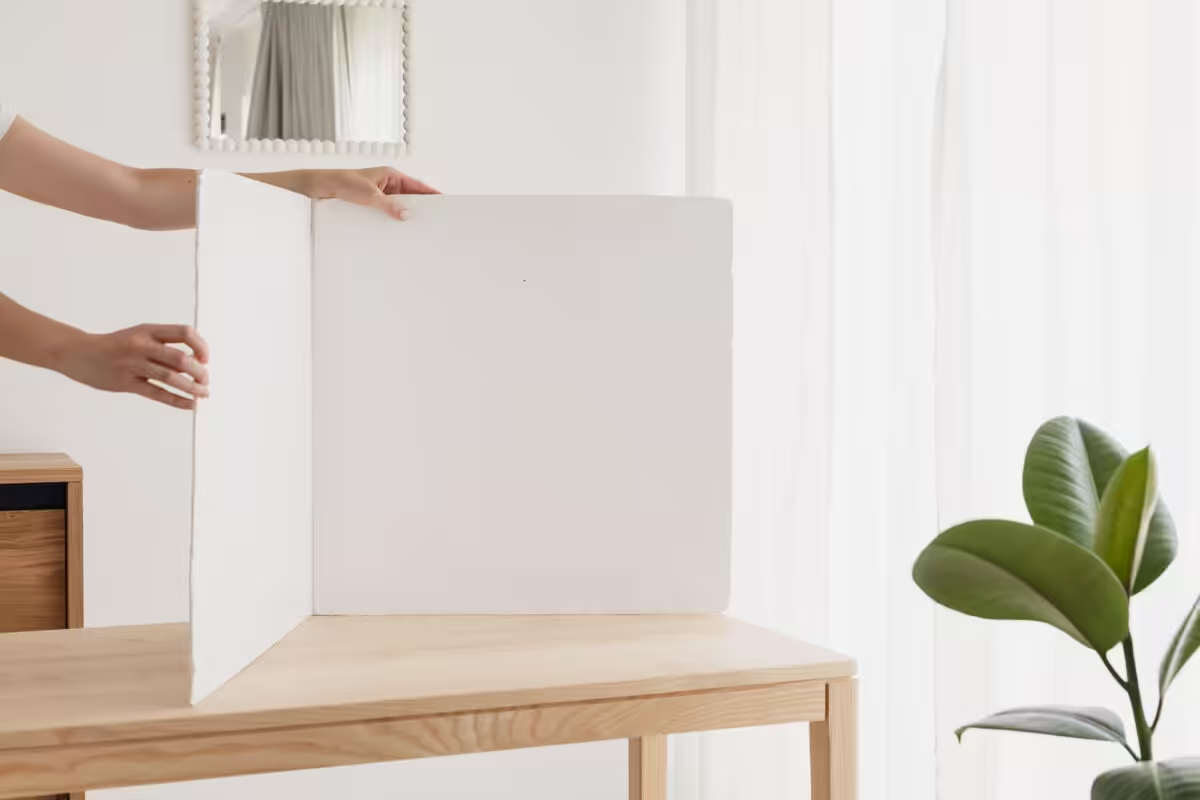
Soft but bright natural light is great for a photoshoot, although it can create shadows where you don’t want them, for example on one side of your products.
White foam board is a lightweight, rigid material consisting of a polystyrene foam core sandwiched between two layers of paper or card, and it’s perfect for bouncing light back into your scene.
Place it opposite the main light source or at a slight angle to light your products from all angles. You can also cut it, or tape two bits together so that it’s self-supportive when you are doing flatlays.
In fact, anything white will do this job – paper, card, polystyrene sheets that have come with a delivery, a white sheet hung over something… But foam board is my favourite, as it’s pretty sturdy and can be self-supporting if needed.
A1 White Foam Board from Hobbycraft, £4.50
2. A sheer curtain to diffuse light
You might think that a bright, sunny day is perfect for product photography, but it can actually cause havoc, creating strong shadows in photographs, which generally speaking is not what you want, although it does work for some shoots.
Sheer curtains are made of lightweight, semi-translucent fabric that allows natural light to filter through, making them ideal for diffusing bright sunlight and generally making light more even across your scene.
2-pack of sheer curtains from H&M, £19.99
3. Decorator’s tape to temporarily hold products or backdrops
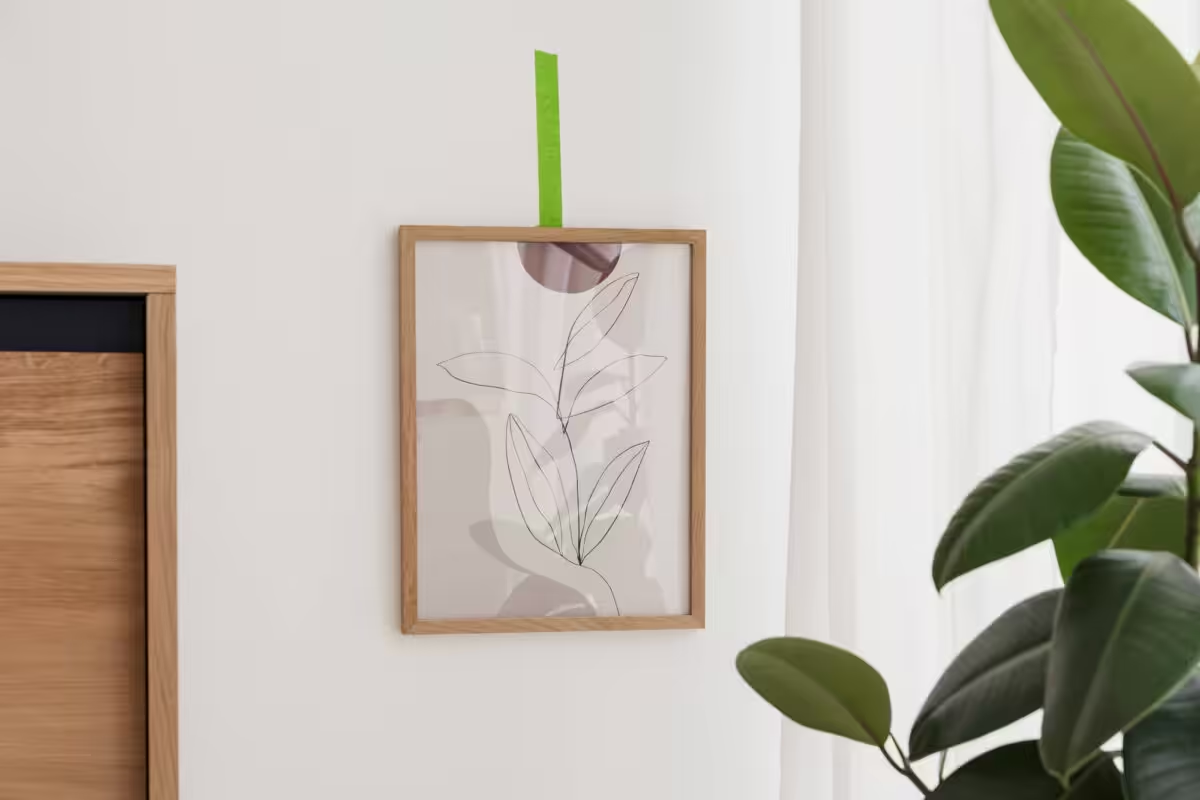
Decorator’s tape is usually used for masking off areas during painting projects, keeping lines crisp and skirting boards clean. It’s a low-tack roll of tape that’s readily available in a variety of widths and colours.
I use Green Frog Tape for everything – it doesn’t damage my walls, but check yours first with a small piece somewhere discreet, before sticking a whole load of tape all over your walls.
It’s perfect for sticking paper up as a backdrop, or even to temporarily hang up a small painting or mirror for the background of a photo – it’s surprisingly strong.
Green Frog Tape from B&Q, £6.68
4. A lint roller to get rid of pesky fluff and fibres
If I don’t lint roll any fabric I’m using in shot, I always regret it when I come to editing, and I notice so many little fibres or hairs that need cloning out!
Enter: the trusty lint roller. It’s a handheld device with a roll of sticky paper, which attracts fibres as you roll it over fabric. You can then peel off the top layer of paper, revealing a fresh sticky layer.
To avoid too much post-shoot editing, run a lint roller over your fabric as thoroughly as you can – it might feel time consuming, but it’ll be quicker than trying to remove the unsightly fluff from your product photos.
KAV Lint Roller With 5 Rolls from B&Q, £5.89
5. A white tablecloth for background texture
Product photography does need to be clean and clear to show the products without too much distraction, but sometimes a totally plain and flat white background is just too boring.
Using a background that is plain but with a little texture – like a tablecloth – adds a little something to the product photo, without it taking away from the main focus.
Cotton-blend Tablecloth from H&M, £19.99
6. A variety of dried foliage for depth and interest
This is one of my favourite tricks for adding depth to product photos without taking the limelight from the product.
Dried foliage and flowers are stems and leaves that have been dried in a specific way that preserves them for years, meaning they’re a super cost-effective way for small business owners to add some interest to their product photos.
You can get all sorts of colours and styles, but I recommend going for something neutral to not distract from your products too much.
By holding the foliage close to your lens, while focusing on the product, it’ll be slightly in shot and out of focus. You can also use dried foliage in vases or laying on the table in your product shots.
Ruscus Bleached White Dried Flowers from Style Sparkle on Etsy, £4.78 for one stem
7. A camera remote for hands-free shooting

Using a camera remote allows you to take a photo without being near your camera, and you can use longer shutter speeds without any camera shake, which is great if you are shooting your product shots in lower lighting.
It also allows you to have your hands free, so you can hold that aforementioned foliage in the foreground, or if you need a hand in shot to demonstrate how your product is used.
Remotes vary from camera to camera, and you can get camera remotes for your phone too.
Camera World camera remotes, from £8
8. A camera spirit level to get super-straight product photos
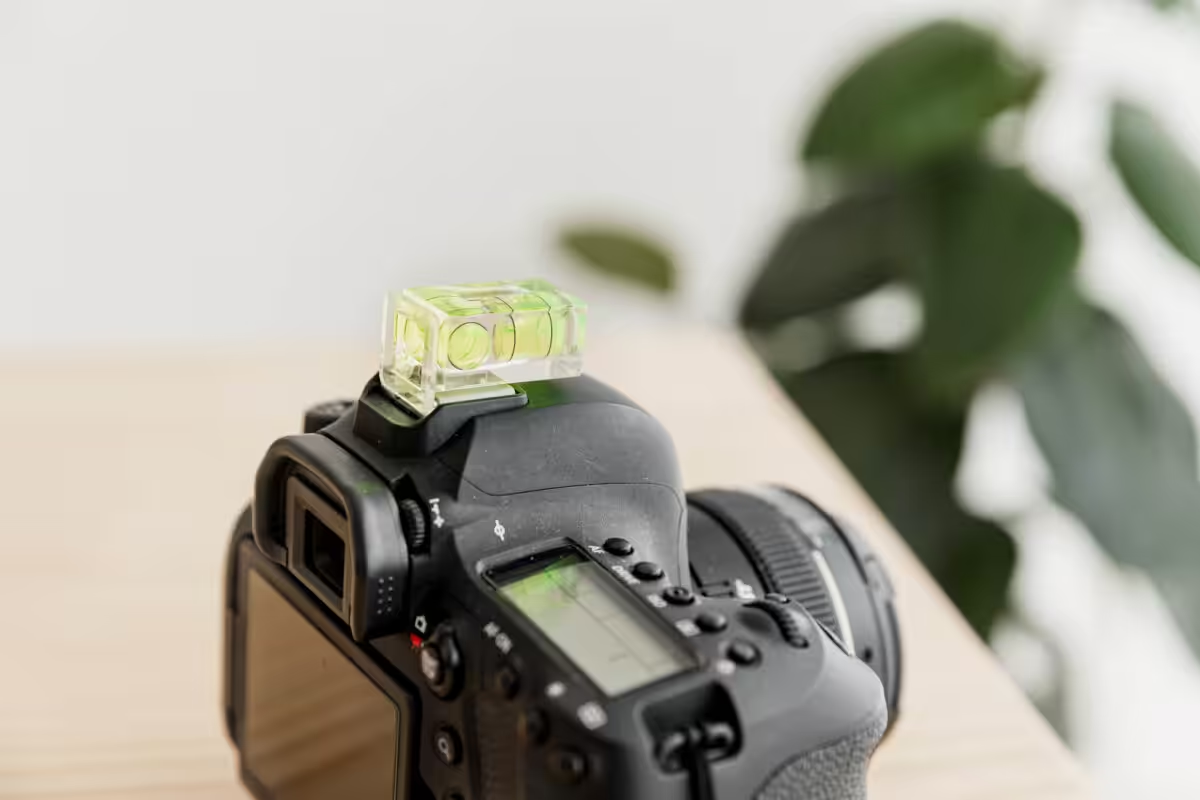
A spirit level indicates whether something is perfectly horizontal or vertical. Some cameras have built-in spirit levels, but you can also get spirit level attachments that slide into the hot shoe of your camera (which is where you would normally attach a flash).
The spirit level will help ensure your camera is straight, therefore minimising how much editing, cropping and rotating you need to do to your product photos afterwards.
Kood camera spirit levels, £2.99-6.75
9. Coloured textured paper for flatlays and backdrops
This is a really inexpensive way to add colour and texture to your product photography – grab a stock of on-brand coloured paper in A1 size. It makes for great backgrounds for flatlays, or can even be taped to the wall to change your backdrop.
I’d recommend opting for art papers that have a bit more texture to help add interest to your product photos.
London Graphics Centre coloured A1 paper, from 50p
10. White tack to hold products and props in place
White tack is a malleable, reusable adhesive putty, and is a must for sticking things in place while taking product photos, like stopping a pencil from rolling away, or holding a greeting card shut whilst you do a flatlay.
It won’t damage or stain any products, and White Tack is much easier to hide in product photos than Blu Tack.
11. Sticky dots for holding products almost-invisibly
If your products are small and delicate (for example, jewellery) these little clear glue dots are great for when you need to stick something down, like propping up a ring.
The fact that they’re clear means they’re so much easier to remove when editing your product photos afterwards.
U-Glue Sticky Dots from B&Q, £3
12. Adobe Lightroom for editing your product shots
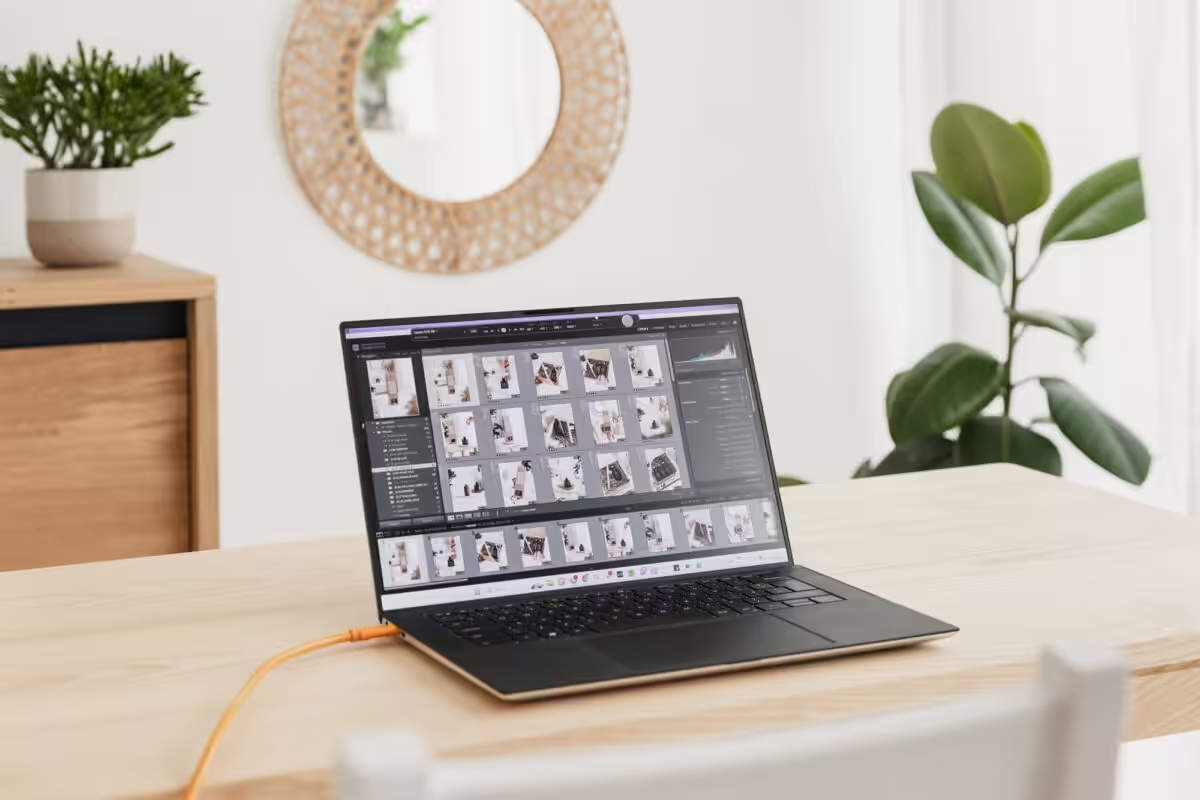
Even the very best professional product photographer has to do some post-production, so image editing software like Adobe Lightroom is vital for importing, viewing, organising, editing, and exporting photos.
You can use it on both your computer/laptop and there’s a smartphone app too. The app is free to download, and has actually got loads of editing features available as part of the free version.
80% of the time, I find that Adobe Lightroom on its own is enough for shooting directly to my laptop and making adjustments and edits to product photos, if I don’t need to edit to a high level of detail.
If you need to edit further, I’d recommend using Adobe Photoshop (which has more photo editing functions like retouching) alongside Lightroom.
Adobe Lightroom, £11.99/month on its own, or £19.97 with Photoshop
13. A tether cable to see product photos on a larger screen
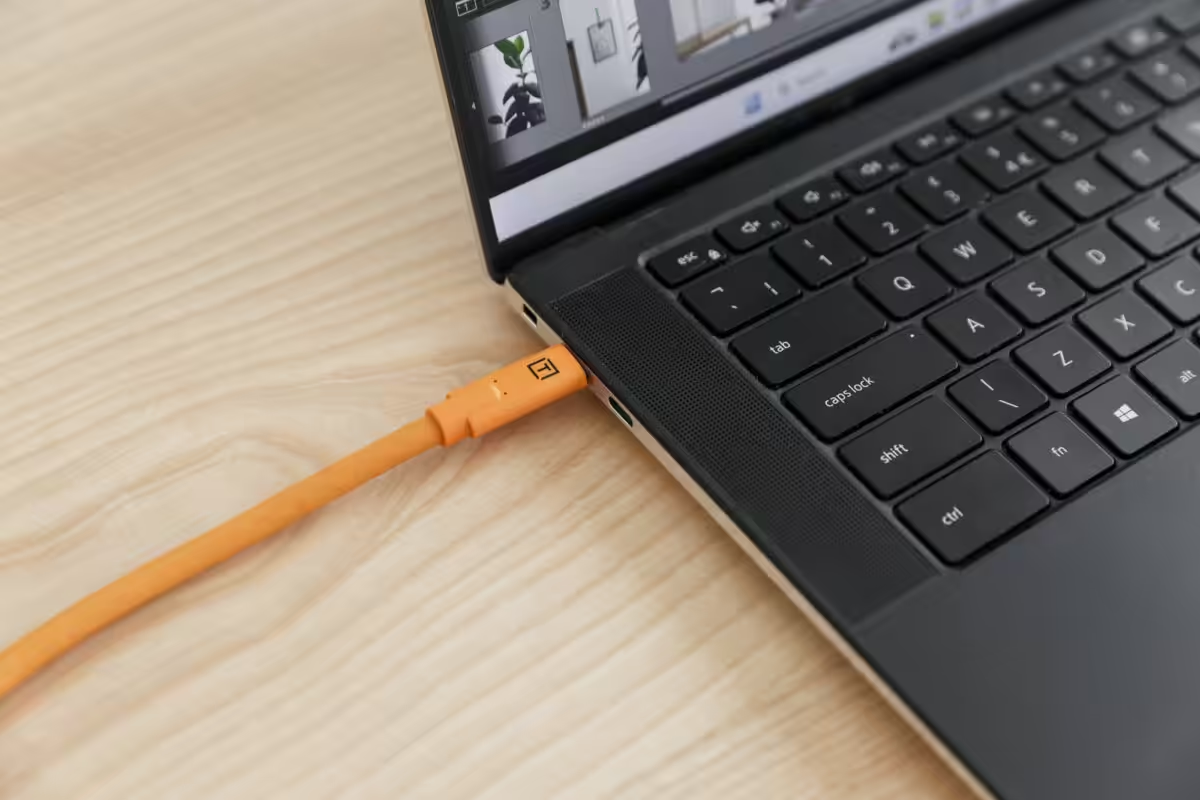
Immediately previewing your product photos on a large screen whilst you shoot is really helpful, and luckily you can pick up a tether cable to do just this.
Your camera may have specific software that this works with, or you can use Adobe Lightroom or another editing software like Capture One.
TetherTools TetherPro Cable from Wex Photo Video, £26
14. A tripod to hold that perfect scene
The wonderful thing about setting your camera or phone up on a tripod is that you can keep referring to your screen whilst creating the scene (rather than the other way around).
This way you can adapt and make changes to the composition of your set-up and see what it will look like in your product shots, before you take the photo.
A tripod also helps create consistency across product photos, for example if you want to take shots of multiple products in the same scene.
Cullmann Alpha 1000 Tripod from Jessops, £19.99
Now you’re all set to take some gorgeous product photos, right?
I’d love it if you would follow me @georgiadelotz on Instagram, and head over to the de Lotz website (built by Studio Cotton 😎) to see some of my projects for inspiration, and you can find out more about our photography packages and one-to-one sessions too.
For more photography help from the Studio Cotton team, check out these blog posts: